Having woken from a creative slumber I decided to take on a personal challenge to create a patchwork quilt, in what turned out to be one weekend.
The quilt was a gift for Mr C's new niece, Alice, and I was keen to make a her a pretty patchwork quilt for her nursery. I completed a quilt last year and loved it so much that I thought I'd use the same way to make the quilt but add new fabrics to the design. I knew all the steps of how to make a patchwork quilt so I thought that with this in mind I could get it made over two weekends of sewing.
Everything to make the quilt was planned and ready to go, I'd been thinking about it and looking at options for fabrics for a few weeks, bought a few in preparation and washed and pressed them ready to use. But things didn't quite turn out as I had hoped! I had planned two weekends to create the quilt, however I ended up feeling really unwell one weekend and spent the time in bed. With one weekend to go I set myself a challenge to get the quilt made in one weekend. We were meeting Alice for the first time at Sunday lunch and I really wanted to have it ready for then.
During the week I started to cut up 4.5 inch squares of fabric in preparation for assembling the quilt over the weekend. I wanted to create a quilt nine by nine squares, so a total of 81 squares were needed. It was a lot of cutting to be done!
On Saturday morning I got up early, put the kettle on and started to arrange the fabric squares cutting the final few, then arranged them from this....
and stitched them together to make this quilt top...
I wanted to make this quilt using all the colours of the rainbow. Each row should (almost) have each colour of the rainbow included making a fun bright quilt.
I sewed each square to the next creating nine rows in total. After all nine rows were complete I sewed each row to the next to make the top of the patchwork quilt. I then sewed a strip of white alphabet fabric to each side of the quilt top to frame the quilt. I created a quilt sandwich using pink spotty fabric and then quilted the patchwork top so it looked like this.
I love this effect of sewing across the squares. I used a pale pink cotton thread to blend in with the fabrics.
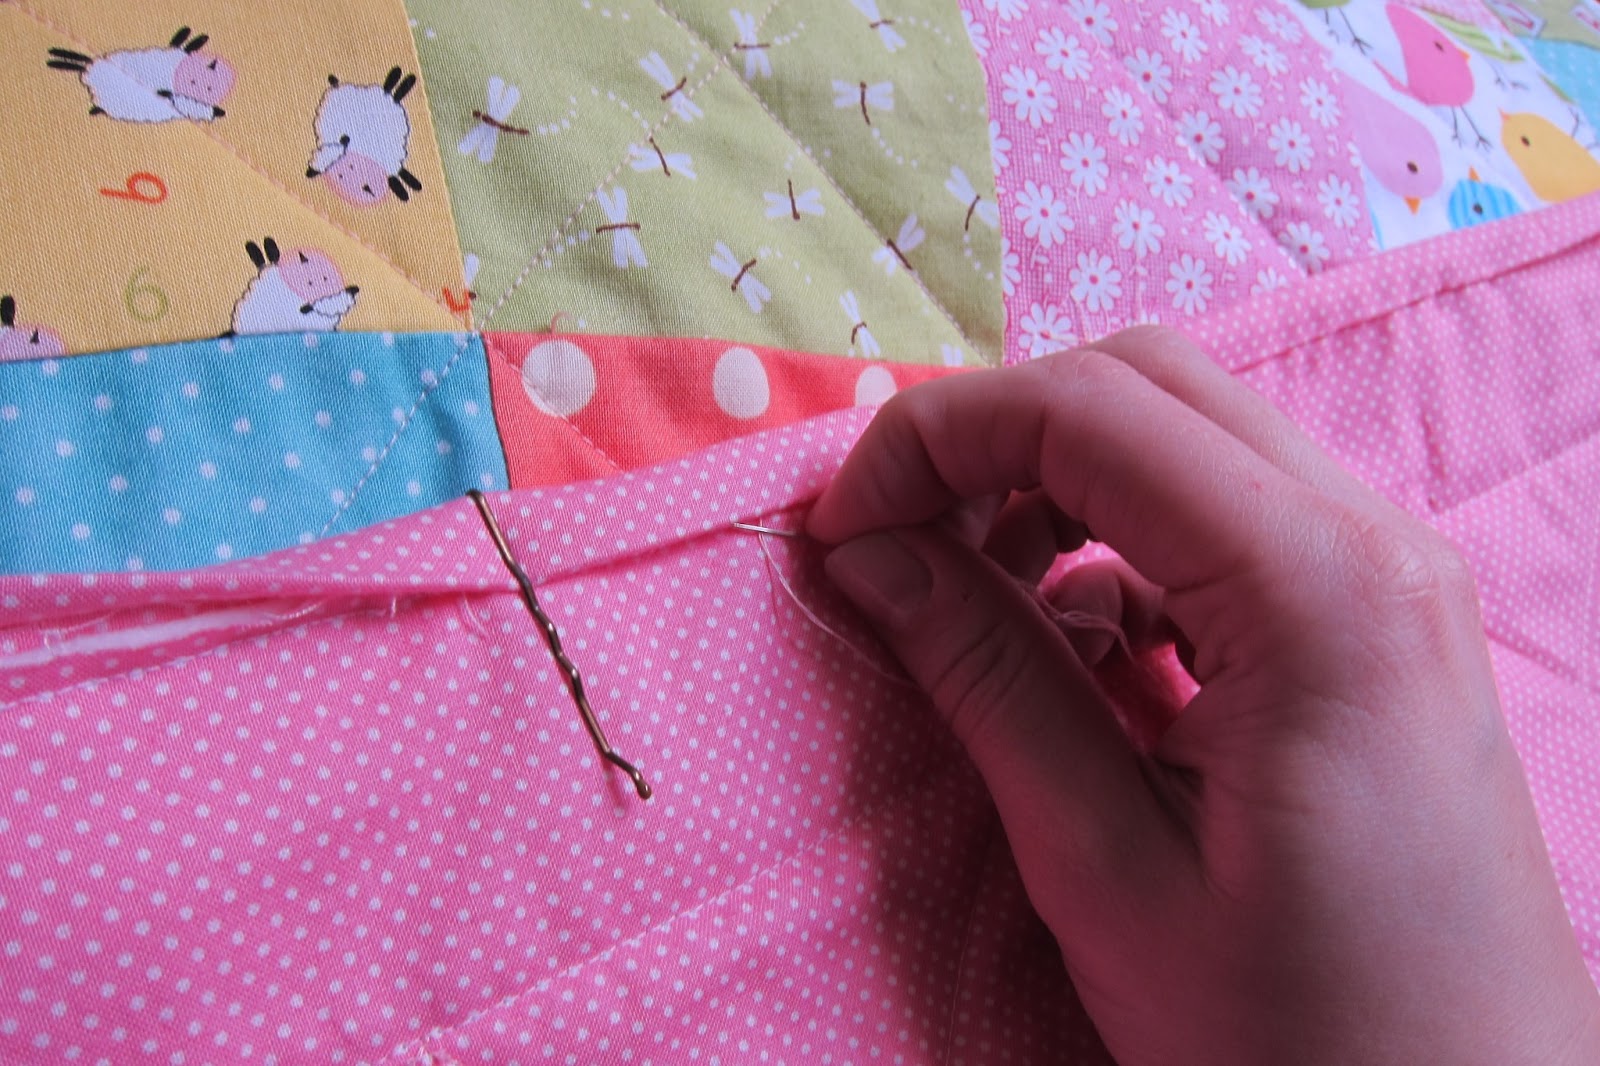
On Sunday morning I woke early to hand stitch the binding to the back of the quilt. I used a different method of sewing the binding to the quilt which worked so well and was so neat.
And here is the completed rainbow patchwork quilt...
I love the back of the quilt almost as much as the front, the pink fabric with white spots on is so pretty and delicate.
Sunday lunch arrived and we met Alice, here she is at two weeks old enjoying the first time on her rainbow patchwork quilt...
I loved making this quilt. From the time spent choosing the new fabrics, through to hand sewing the binding, I felt a real sense of achievement and the chance to get creative once more. It was a huge challenge to get this sewn together and completed in one weekend but I put the hours in, drank lots of tea and managed to keep motivated at every stage as I knew how useful the quilt will be and how much fun Alice will have playing on it while she grows up.Labels: patchwork, patchwork quilt, quilt, quilting